40k Dynamic Seal 10086878 Water Jet Pump Parts Price
40k Dynamic Seal 10086878 Water Jet Pump Parts Price
| Part Number | Name |
|
014155-10 |
Orifice |
|
014201-9 |
ECL Ruby Orifice |
|
015849-5 |
60K Diamond Orifice |
|
014194-20-30 |
Mixing Tube |
|
1000003-15-40 |
Premium Mixing Tube |
|
014241-1 |
Mixing Tube Nut |
|
014197-1 |
ECL Mixing Chamber Assembly |
|
020694-1 |
Mixing Chamber Assembly |
|
014660-1 |
87K On/Off Valve Assembly |
|
014988-1 |
On/Off Valve Seal Kit |
|
019520-1 |
Cutting Head Clamp Assembly |
|
711933-1 |
Blast Disk |
|
012952-1 |
3/8 HP Insert(Double Cone) |
|
012252-1 |
100K Plug |
|
015093-1 |
1/4 Swivel Repair Kit |
|
049357-1 |
Swivel Body |
|
20452968 |
Cross |
|
20452971 |
Tee |
|
20453115 |
Elbow |
|
040015-1 |
Intensifier Seal Carrier |
|
020080-1 |
Low Pressure Piston |
|
018020-1 |
Ceramic Plunger Assembly |
|
001197-1 |
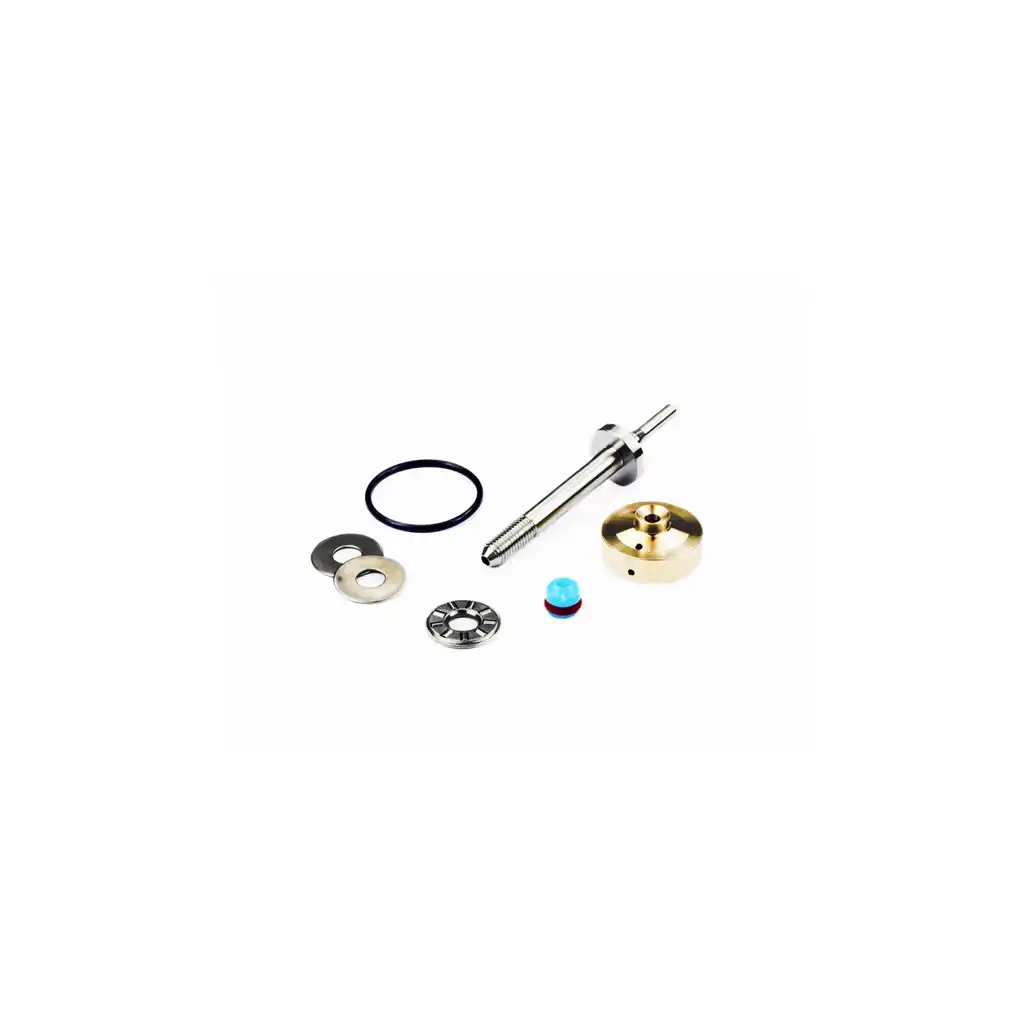
40K Seal Kit |
|
013383-1 |
Check Valve Body |
|
013051-1 |
Bleed Down Seat |
|
019309-1 |
Bleed Down Valve Assembly |
|
020323-1 |
Water Manifold |
|
1-11679-xxx |
O-ring |
|
1-11680-xxx |
Backup Ring |
|
B-5078-1 |
High Pressure Collar |
|
B-8428-1 |
Bleed Down Valve Piston |
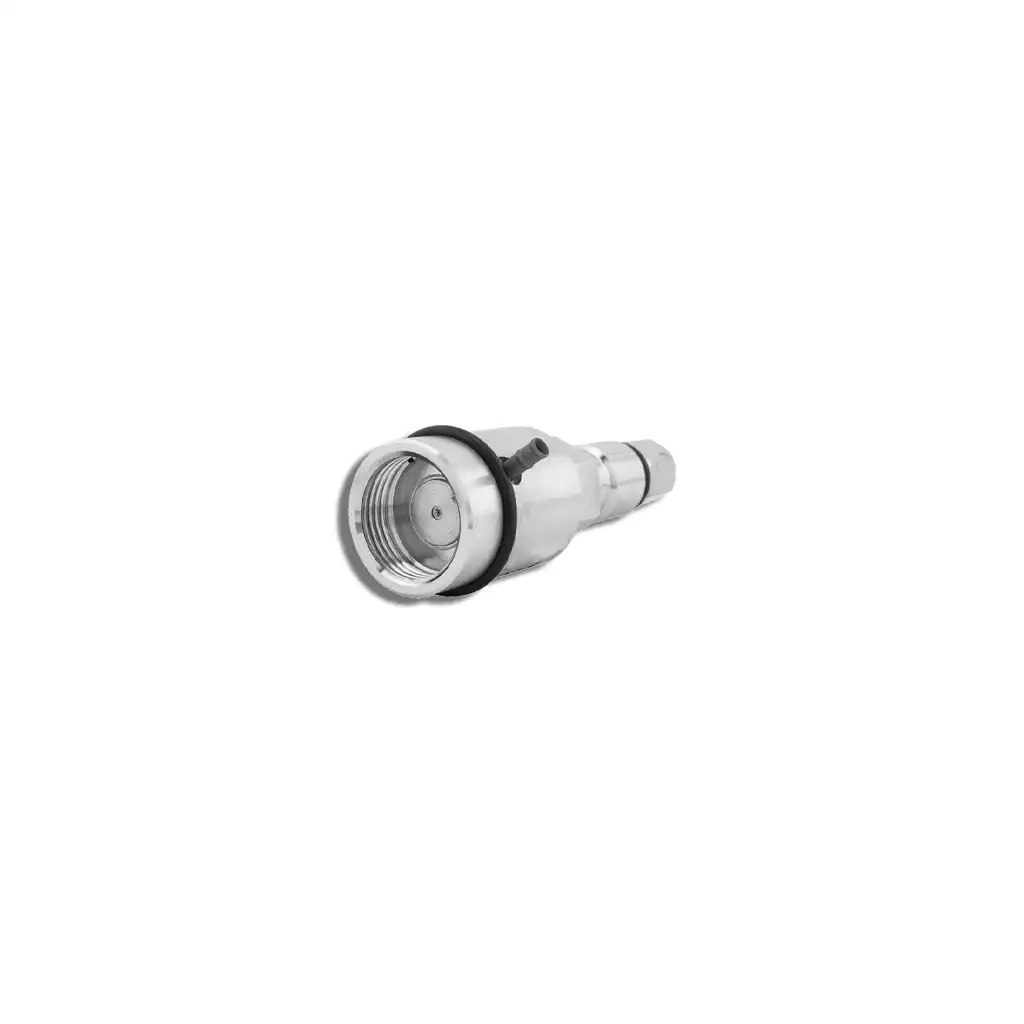
The 40K Dynamic Seal (Part No. 10086878) is a critical sealing component utilized within the high-pressure Intensifier Pump systems of Waterjet Cutting Machines. Specifically engineered for 40,000 PSI (40K) class Waterjet Pumps, it plays a vital role in maintaining pressure stability and preventing high-pressure water leakage during the reciprocating motion of the piston.
This seal is installed within the intensifier assembly, situated around the moving plunger or piston. Unlike static seals, dynamic seals operate under conditions of constant motion and extremely high pressure; consequently, this component ranks as one of the most critical wear parts within the high-pressure cylinder system.
Its primary function is to establish a reliable sealing barrier between the reciprocating piston and the cylinder wall, ensuring that the ultra-high-pressure water remains securely contained while minimizing internal leakage and pressure loss. The quality of the dynamic seal directly impacts the pump's efficiency, pressure stability, and the overall reliability of the machine.
This is because the seal operates under the following conditions:
Continuous reciprocating motion
Extremely high pressure (40,000 PSI)
Friction between the piston and the sealing surface
Elevated operating temperatures
Extended production cycles
Consequently, it is subject to natural wear and tear over time.
Completely disconnect the power supply to the waterjet system and release all residual high pressure.
Safety First—never attempt any maintenance operations while the system remains under pressure.
Step 2 – Disassemble the High-Pressure Cylinder Assembly
Refer to the pump's maintenance manual to disassemble the intensifier cylinder assembly.
The following tools are typically required:
Cylinder wrench
Specialized end cap wrench
Seal installation tool
Step 3 – Remove the Old Dynamic Seal
Carefully extract the worn seal, taking extreme care not to scratch the cylinder wall or the piston surface.
Inspect the following components/areas:
Condition of the plunger
Inner wall of the cylinder
Retaining ring (support ring)
Check valve area
If any damage is detected, the associated components should be replaced simultaneously. Step 4 – Clean the Installation Area
Remove all debris, old lubricant, and seal remnants.
Maintaining a clean sealing surface is critical. Step 5 – Install the New Dynamic Seal
Apply an appropriate amount of high-pressure lubricant and carefully install the new seal using the correct seal installation tool.
Avoid:
Twisting
Overstretching
Incorrect orientation
Improper installation may lead to immediate seal failure.
Step 6 – Reassembly and Testing
Reinstall all components and gradually start up the pump.
Use clean, filtered water
Replace filter cartridges regularly
Maintain proper lubrication
Avoid running dry (dry operation)
Monitor for pump pressure fluctuations
Perform scheduled preventive maintenance
This seal is installed within the intensifier assembly, situated around the moving plunger or piston. Unlike static seals, dynamic seals operate under conditions of constant motion and extremely high pressure; consequently, this component ranks as one of the most critical wear parts within the high-pressure cylinder system.
Its primary function is to establish a reliable sealing barrier between the reciprocating piston and the cylinder wall, ensuring that the ultra-high-pressure water remains securely contained while minimizing internal leakage and pressure loss. The quality of the dynamic seal directly impacts the pump's efficiency, pressure stability, and the overall reliability of the machine.
Is the 40K Dynamic Seal (Part No. 10086878) considered a wear part?
Yes—it is classified as a typical consumable (wear part).This is because the seal operates under the following conditions:
Continuous reciprocating motion
Extremely high pressure (40,000 PSI)
Friction between the piston and the sealing surface
Elevated operating temperatures
Extended production cycles
Consequently, it is subject to natural wear and tear over time.
How to Replace the 40K Dynamic Seal?
Step 1 – Shut Down the MachineCompletely disconnect the power supply to the waterjet system and release all residual high pressure.
Safety First—never attempt any maintenance operations while the system remains under pressure.
Step 2 – Disassemble the High-Pressure Cylinder Assembly
Refer to the pump's maintenance manual to disassemble the intensifier cylinder assembly.
The following tools are typically required:
Cylinder wrench
Specialized end cap wrench
Seal installation tool
Step 3 – Remove the Old Dynamic Seal
Carefully extract the worn seal, taking extreme care not to scratch the cylinder wall or the piston surface.
Inspect the following components/areas:
Condition of the plunger
Inner wall of the cylinder
Retaining ring (support ring)
Check valve area
If any damage is detected, the associated components should be replaced simultaneously. Step 4 – Clean the Installation Area
Remove all debris, old lubricant, and seal remnants.
Maintaining a clean sealing surface is critical. Step 5 – Install the New Dynamic Seal
Apply an appropriate amount of high-pressure lubricant and carefully install the new seal using the correct seal installation tool.
Avoid:
Twisting
Overstretching
Incorrect orientation
Improper installation may lead to immediate seal failure.
Step 6 – Reassembly and Testing
Reinstall all components and gradually start up the pump.
Maintenance Recommendations
To maximize the service life of the seal:Use clean, filtered water
Replace filter cartridges regularly
Maintain proper lubrication
Avoid running dry (dry operation)
Monitor for pump pressure fluctuations
Perform scheduled preventive maintenance
Please contact our sales team if you have any inquiries!


INQUIRY